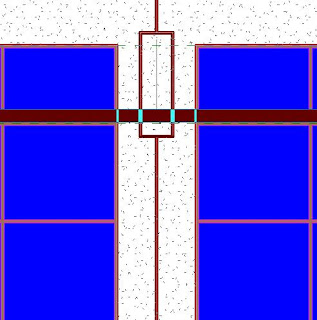
So the next logical step would be to use the Split-Face tool to split the wall face at the reveal location so you can have multpile faces to paint. After further investigation and frustration we see that when we select the wall face to split it, it automatically has the reveal edges assigned as a face border - so we can't split our faces along those lines. Now we could offset our split-face lines a teenie bit off the border lines but that would be cumbersome and annoying.
Well While going through this I discovered an long standing bug in the software, try this:
- Use your Split-Face tool and pick the wall face you would like to Paint.
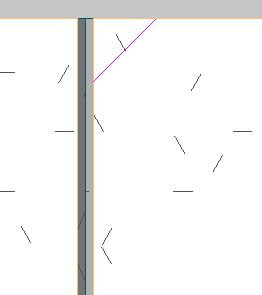
- Split the face of the wall anywhere, I do it in a top or bottom corner and create a tiny 1/16"x1/16" wedge (Figure B). Select Finish Sketch.

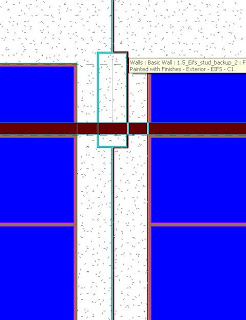
- Now you will be able to pick the individual faces of the wall created by the reveal (Figure C).


I saw this over at Revit 3D. Very nice. Keep the posts coming.
ReplyDeleteIt Worked! Genius!!
ReplyDeleteI am in love with you.
ReplyDeleteIt Worked Grate!
ReplyDeleteThank you!
ReplyDeleteI like that you only have to "split" one corner of the wall.
You're awesome, you just saved my entire night!
ReplyDeleteThanks for the best content
ReplyDeleteGREAT WORK
BIM documentation UK
thank u for info MEP F modelling in UK
ReplyDeleteGreat work around.
ReplyDeleteFrustrating this has not been fixed to date.
I am in love with you.I'm cring!!!!Genius!!
ReplyDeleteAs with everyone else ---- I cant believe this hasnt been fixed or even addressed!!!! but am glad to have found a work-around. thank you VERY much for putting this together.
ReplyDeleteThank you so much! I wish you eternal happiness!
ReplyDeleteI can't believe I just came across this blog and this trick after all these years—thank you!
ReplyDelete